How to Automate Content Repurposing: The Complete AI Workflow for Video & Podcasts
For small businesses, creating a highquality podcast or video is only half the battle; the real challenge is distributing it effectively without spending countless hours manually creating clips, posts, and articles. This guide outlines a complete, automated workflow that transforms a single longform


For small businesses, creating a high-quality podcast or video is only half the battle; the real challenge is distributing it effectively without spending countless hours manually creating clips, posts, and articles. This guide outlines a complete, automated workflow that transforms a single long-form video or podcast into a dozen content assets—from viral social clips to a full-length blog post—using a combination of AI clipping tools and Make.com. We'll show you how to build an AI-powered content engine that runs on autopilot. Automated content repurposing is the process of using software and AI to systematically transform a single piece of content into multiple formats for distribution across various channels, minimizing manual effort.

Key Takeaways: Your Automated Repurposing Blueprint
- Establish a single 'source of truth' for your content, such as a weekly video podcast or a webinar recording, and store it in a cloud drive like Google Drive.
- Use an AI-powered video clipping tool (e.g., Opus Clip, Riverside) as the first step to automatically identify and create engaging short-form video clips from your long-form content.
- Leverage a workflow automation platform like Make.com to connect your tools, triggering actions whenever a new video is added to your source folder.
- Connect your workflow to an AI model like GPT-4 via its API to automatically generate a full transcript, a detailed summary, and a draft blog post from the video audio.
- Automatically populate a social media scheduler (like Buffer or SocialBee) with your newly generated clips and a series of posts linking to your summary blog.
- Measure success not just by engagement, but by hours saved per week, allowing you to reinvest that time into creating more high-quality core content.

Table of contents
- Why Bother Automating Your Content Workflow?
- The Repurposing Flywheel: An Architectural Overview
- Step 1: Choosing and Preparing Your Core Content Pillar
- Step 2: AI-Powered Clipping with Tools like Opus Clip or Riverside
- Step 3: Building the Automation Engine in Make.com
- Step 4: Auto-Generating a Transcript and Summary Blog Post
- Step 5: Scheduling a Full Social Campaign Automatically
- Comparing the Essential Tools for Your Automation Stack
- Prompting AI for High-Quality Content: The Summary Framework
- Measuring the ROI of Your Automated Content Machine
- Conclusion and Next Steps
- Frequently Asked Questions
- Additional Resources
Why Bother Automating Your Content Workflow?
Automating the repurposing process saves dozens of hours per month, freeing up SMB owners and small marketing teams to focus on strategy and creation rather than manual, repetitive tasks. This significantly boosts the efficiency of your content marketing efforts. For example, if you spend 5 hours a week manually creating social clips and writing captions, automating this entire process could free up 20 hours a month, allowing you to focus on developing new podcast episodes or improving your video production quality.
It amplifies the ROI of your primary content asset by turning one hour of video production into a full week's worth of multi-platform marketing content. This means a single, high-quality podcast episode or video can serve as the engine for your entire social media and blog content calendar for a sustained period. An automated system ensures brand consistency across all channels by using predefined templates and formats for clips, summaries, and social posts. This consistency helps build a stronger brand identity and trust with your audience.
The Repurposing Flywheel: An Architectural Overview
The system's architecture begins with a single, high-value source asset, typically a video podcast, which is uploaded to a designated cloud storage folder. This central asset acts as the origin for all subsequent content pieces. This upload acts as the trigger for the entire automated workflow, initiating a sequence of events across multiple connected applications without further human intervention. The output is a diverse portfolio of content, including video clips, a full transcript, a summary blog post, and a scheduled social media campaign, all derived from the original source.
This model creates a self-sustaining content engine where the effort is front-loaded into creating the core asset, with distribution handled automatically. Imagine your weekly podcast being uploaded to Google Drive. This single action then automatically triggers AI to generate social clips, a blog post draft, and schedule social media posts, creating a continuous flow of marketing material.
Step 1: Choosing and Preparing Your Core Content Pillar
Your core pillar should be the most comprehensive and value-packed content you produce, making video podcasts or webinars ideal candidates for this workflow. These long-form formats inherently contain rich material that can be broken down into numerous smaller assets. Establish a consistent file naming convention and storage location (e.g., a specific folder in Google Drive or Dropbox) to ensure your automation trigger works reliably. For instance, naming files consistently like YYYY-MM-DD_PodcastTitle_EpisodeNumber will make it easy for your workflow to identify new content.
Before feeding it to the system, ensure your source video has clean audio, as this is crucial for accurate transcription and high-quality AI-generated summaries. Poor audio quality can lead to errors in transcription, which in turn affects the accuracy and usefulness of your AI-generated blog posts and social media copy. A quick check of audio levels and background noise before exporting your final video is a small but vital step.
Step 2: AI-Powered Clipping with Tools like Opus Clip or Riverside
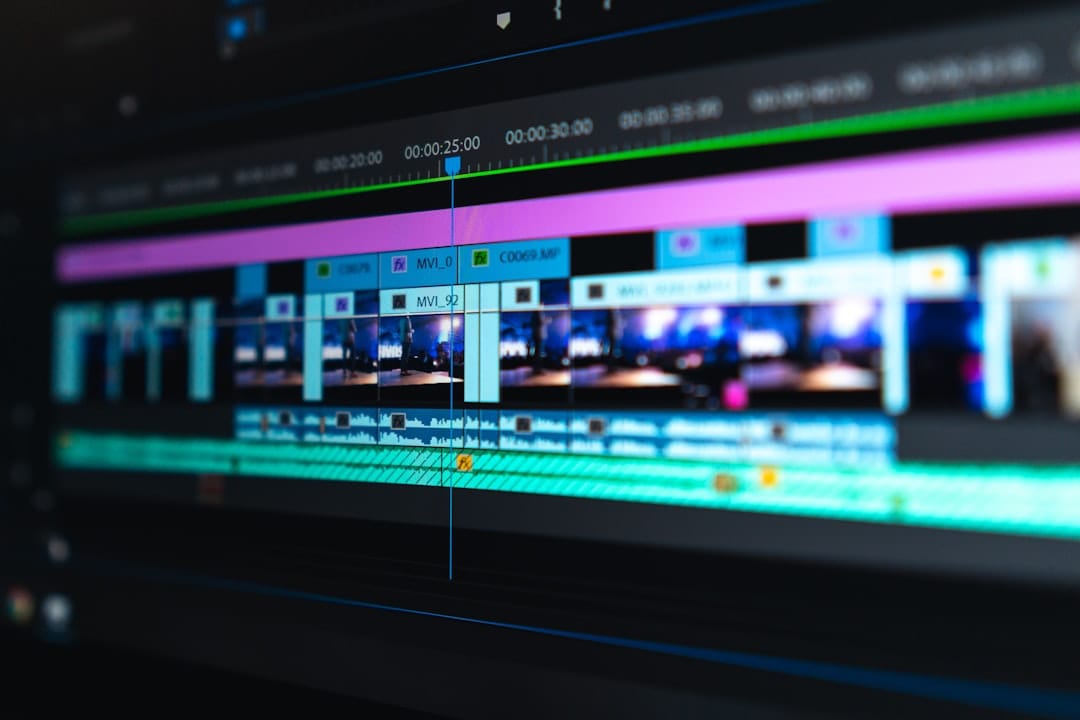
The first automated action is to process your video with an AI clipping tool, which analyzes the transcript and video to identify the most compelling, shareable moments. These tools use natural language processing and video analysis to pinpoint engaging segments, often based on speaker changes, energy levels, or keywords. These tools automatically generate short-form, vertical videos with animated captions, ideal for TikTok, Instagram Reels, and YouTube Shorts, saving hours of manual video editing. For example, Opus Clip can analyze a one-hour podcast and automatically produce 5-10 distinct clips, complete with captions and a user-friendly interface for further selection or export.
Configure these tools to output the clips and the full video transcript to another designated cloud folder, which will trigger the next step in your automation. Ensuring that both the generated video clips and the complete transcript (often as a .txt or .srt file) are saved to a specific outputs folder in your cloud storage is key to seamlessly passing data to the subsequent stages of your workflow.
Step 3: Building the Automation Engine in Make.com
The core of this system is built in an integration platform like Make.com, which acts as the 'glue' connecting your different apps. Make.com (formerly Integromat) offers a visual interface where you can create complex scenarios by linking various applications. Create a new 'Scenario' that starts with a 'Watch for New Files' trigger in your AI clips folder on Google Drive or Dropbox. This trigger monitors a specific folder for any new files added and initiates the subsequent modules in your scenario.
Chain together modules for each subsequent action: process the transcript with OpenAI, create a new document in Google Docs for the blog post, and add items to your social scheduler. Make.com's modular design allows you to drag and drop app integrations and configure them in a logical sequence, ensuring data flows correctly from one step to the next. Use Make.com's filtering capabilities to create different paths for different types of files (e.g., one path for video clips, another for the main transcript file). This allows your automation to handle various outputs from your AI clipping tool distinctly.

Step 4: Auto-Generating a Transcript and Summary Blog Post
Within your Make.com scenario, add an 'OpenAI (ChatGPT)' module that takes the full transcript file as an input. This module communicates with the OpenAI API to process the text. Use a carefully crafted prompt to instruct the AI to perform several tasks: clean up the transcript, write a 500-word summary, and then expand that summary into a 1500-word blog post organized with headings and bullet points. A well-structured prompt could instruct GPT-4 to act as a professional blog writer, summarize the provided transcript into key takeaways, and then flesh out those takeaways into a comprehensive, SEO-friendly blog post using Markdown formatting.
This step is where you can insert a summary framework or prompt template to ensure the AI output is consistently formatted and on-brand. For example, you might specify the desired tone (e.g., "informative and engaging"), the target audience, and structural requirements like the number of H2 headings and bullet points. The output from the AI is then passed to a 'Create a Document' module in Google Docs, automatically creating a blog draft ready for a final human review. This draft will contain the AI-generated summary and the full blog post, all neatly formatted within a new Google Doc.
Step 5: Scheduling a Full Social Campaign Automatically
For each new video clip created in Step 2, your Make.com scenario should trigger a new action in your social media scheduling tool, like Buffer, SocialBee, or Hootsuite. This involves connecting Make.com to your chosen scheduler via its API. The scenario can automatically generate post copy using another call to the OpenAI API, asking it to write a short, engaging caption for each clip. You'd prompt GPT-4 to create a caption that is attention-grabbing, includes a relevant call to action, and is tailored to the specific social media platform (e.g., shorter for X, more descriptive for LinkedIn).
Simultaneously, create a separate series of posts to promote the new summary blog post, scheduling them to go live over the course of a week to maximize visibility. This could involve creating posts that highlight different aspects of the blog content, use various calls to action, and are staggered throughout the week. This ensures a steady stream of content is published across your social channels without you ever having to manually upload a file or write a caption, providing consistent brand presence and driving traffic to your longer-form content.
Comparing the Essential Tools for Your Automation Stack
For AI clipping, tools like Opus Clip excel at fully automated 'virality' scoring by identifying engaging moments automatically, while platforms like Riverside offer integrated recording, editing, and clipping in one place, providing more control within a single environment. Descript provides a powerful transcript-based video editor, giving you more manual control over the clips you create compared to fully automated options, allowing for precise edits based on the text.
When choosing an automation platform, Make.com offers a more visual interface and flexible pricing for complex workflows, allowing for intricate branching and logic, whereas Zapier is known for its simplicity and vast number of app integrations, making it easier to connect a wide range of applications quickly. Your final tool stack will depend on your budget, technical comfort level, and the specific content sources you are using. For instance, a startup with a limited budget might opt for free tiers of Make.com and free credits from OpenAI, while a larger team might invest in premium versions of these tools for higher volumes and more advanced features.
Prompting AI for High-Quality Content: The Summary Framework
Effective AI generation relies entirely on the quality of your prompt; create a detailed prompt template for your blog post summary and generation step. A good prompt acts as a set of instructions that guides the AI to produce the desired output. Your prompt should include instructions on tone of voice, target audience, desired word count, formatting (H2s, bullets), and a negative constraint (e.g., 'Do not sound like an AI'). For example, you might tell the AI to "Adopt the persona of a seasoned industry expert, writing for an audience of small business owners who are new to AI. The tone should be encouraging yet authoritative. Avoid overly technical jargon and maintain a writing style similar to [mention a known blog or author]."
Example prompt structure: [Role-play as expert blogger]... [Use this transcript: {transcript text}]... [Generate a 1500-word blog post with an intro, 3-4 sub-sections, and a conclusion]... [Format with Markdown]. Iterate on your prompt over time by reviewing the AI's output and refining your instructions to get closer to a 'ready-to-publish' draft. This iterative process of prompt engineering is crucial for achieving consistently high-quality, on-brand content.
Measuring the ROI of Your Automated Content Machine
The primary return on investment is time saved; calculate the hours you would have spent on manual clipping, writing, and scheduling, and multiply by your hourly value. For instance, if manual repurposing takes 10 hours per week and your time is valued at $50/hour, automating this process saves you $500 weekly, or $2,000 monthly. Track content velocity—the sheer volume of content pieces you now produce from a single effort—as a key performance indicator of the system's efficiency. A single podcast episode might now generate 10 social clips, a blog post, and 20 social media posts, representing a significant increase in content output.
Monitor engagement metrics across all repurposed assets (clip views, blog traffic, social shares) to identify which types of repurposed content perform best. This data provides crucial insights into audience preferences and helps you optimize your core content strategy. Use this data to refine your core content strategy, focusing on topics and formats that generate the most successful repurposed assets. For example, if short video clips consistently drive high engagement, you might prioritize producing more content suitable for short-form video extraction.
Conclusion and Next Steps
Implementing an automated content repurposing workflow can fundamentally transform how small businesses leverage their video and podcast content. By connecting AI clipping tools with automation platforms like Make.com, you can systematically transform a single long-form asset into a comprehensive suite of marketing materials. This not only saves significant time and resources but also amplifies your content's reach and impact across diverse platforms. The key lies in a well-defined architecture, smart tool selection, and precise AI prompting to ensure consistent, high-quality output.
Embracing this automated approach allows you to focus on what you do best: creating exceptional core content. The time freed up can be reinvested into strategic planning, audience engagement, or developing even more innovative content ideas. The ROI is measured not just in hours saved, but in increased content velocity, broader audience engagement, and a more robust, sustainable marketing engine.
Here are a few concrete next steps you can take today:
- Identify your core content pillar: Choose one long-form video or podcast that you'll use as the source for your first automated repurposing experiment.
- Explore AI clipping tools: Sign up for free trials of tools like Opus Clip or Riverside to understand their capabilities and how they can extract short clips and transcripts.
- Set up a Make.com account: Begin familiarizing yourself with the platform by exploring their templates or watching introductory tutorials.
Frequently Asked Questions
What is the simplest way to start automating content repurposing?
Hint: Start with just one tool. Use an AI clipper like Opus Clip to automatically generate social videos from your long-form content. Once you're comfortable, you can build a more complex workflow.
What is content repurposing with AI?
Hint: It's the use of artificial intelligence tools to automatically analyze a piece of content and generate new formats from it, such as creating short video clips from a long video, summarizing an article, or writing social media posts based on a blog.
Can I use this workflow for written content like blog posts?
Hint: Absolutely. You can adapt the workflow to start with a blog post. The automation could use AI to generate a video script, social media posts, an email newsletter, and even a slide deck presentation from the original article.
How does automating content repurposing help with SEO?
Hint: By automatically generating a full transcript and a detailed blog post from your video, you create a text-based, indexable asset that search engines can crawl. This allows you to rank for keywords related to your video content, driving organic traffic.
What is a good example of content repurposing?
Hint: A perfect example is the workflow in this article: taking a one-hour video podcast and turning it into ten short video clips for Reels/TikTok, one full-length blog post with the embedded video, and a 20-post social media campaign.
Is repurposing my own content legal?
Hint: Yes, repurposing your own original content is completely legal and a standard marketing practice. You own the copyright to your creations, so you can adapt and distribute them in any format you choose.
How much does a fully automated system like this cost?
Hint: The cost can range from nearly free to several hundred dollars a month. Many tools have free or low-cost tiers (Make.com, AI credits). A typical setup for an SMB might cost between $50-$150/month depending on content volume.
What's the main difference between Make.com and Zapier for this?
Hint: Make.com uses a visual canvas that can be better for complex, multi-step workflows like this one, and its pricing is often more cost-effective for a high number of tasks. Zapier is known for its user-friendly interface and has a larger number of app integrations.
How long does it take to set this automation up?
Hint: For someone with moderate technical comfort, setting up the full workflow described could take between 4 to 8 hours. This includes signing up for tools, configuring them, building the Make.com scenario, and testing the end-to-end process.
Do I still need a human in the loop?
Hint: Yes, at least for final approval. The goal of automation is to eliminate 90% of the manual work, not 100%. A final human review of the generated blog post and social copy is recommended to ensure quality, accuracy, and brand voice before publishing.